Alignments: DIY options, professional results.
Adam Jabaay
I remember being 15 years old, wrenching on my soon-to-be first car with my Dad. We were changing the AC compressor on the 1990 Ford Aerostar with 190k on it (was his old work truck. He drove a lot of miles in the few years he beat it up). He was pontificating on how much money you can save by doing most mechanic work yourself, and I remember him saying "the only thing you should pay for is a good alignment, and good body work". Dad was wrong about the alignment part (and you can do body work too... maybe)
I've been doing my own alignments ever since I started heavily tracking cars, and my buddy Tom showed me what "toe plates" are. Doing alignments is fun!

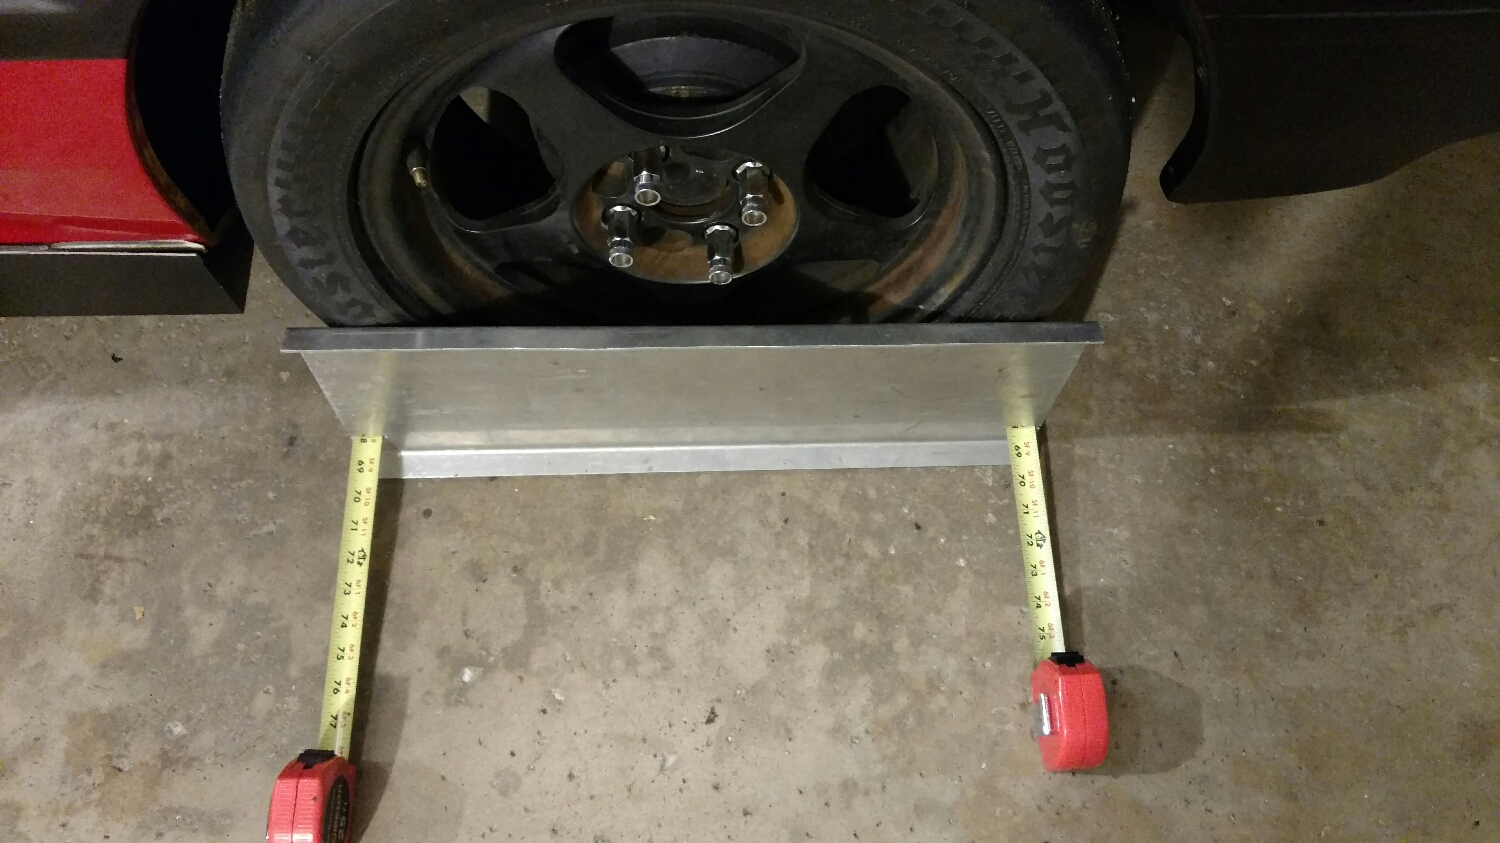
Toe plates. So simple.

Fricken cozy coupe needs some toe out.
As some readers are beginners at this, we'll start from the basics. Toe is simple. Toe-out is when the wheels are pointed away from each other at the front of the wheel. Toe-in is when they are pointed towards each other. The generic track "alignment" usually involves simply putting the Toe to "zero", all around , and getting the camber a bit higher. I'll show you a few ways to do this yourself, and later on we'll talk a bit more advanced.
I used a few simple tools, and they don't cost much money. Keep in mind, I do alignments on my simple Honda Civic and CRXs, with basic double wishbone suspension. Its pretty easy stuff to work with. Before doing your own alignment on a track car, its a great idea to talk to a few people who have experience behind the wheel of similar cars with the same chassis, and get some recommendations for a starting point, with regards to Toe, Camber, etc.
My preferred method of setting up a quick alignment is a set of Toe plates. Mine are homemade pieces, and basically copies of the Longacre Toe Plates that you can buy for less than the cost of taking your family to Applebee's for a mediocre night out. Toe plates are simple. you put them on each wheel, and put a tape measure in the slots at the bottom of the plates. its a good idea to jack the car up first and spin the wheels fast, making sure they don't have a wobble, or the tires don't wander or have odd sidewalls...as that surface needs to roll "true" to itself, or it will throw off the alignment numbers, being as the plates rest against the tire sidewall on most cars. After you've established that your tires are nice and round, you place the plates against them and measure... its good to have a friend's foot or a weighty object against the wheel on the opposite side of you, as the plate might not naturally want to sit nicely. The difference in the measurements will tell you the amount of Toe in or Toe out. For purposes of the article, we'll say we want "zero" Toe. This would mean the number would be the same on both sides of the plates. Bigger number in front? you have Toe OUT. Bigger measure number in rear? you have Toe IN. Adjust the tie rod ends to change the Toe. (or whatever means of adjustment your car has).
easy!
Though I rarely use it, another great option for setting Toe on a car is a Trammel bar. These can work well if you have tires with uneven sidewalls, or slightly bent rims as well, as you can spin the wheel, scribe a line with chalk, etc, on the tire surface, and measure off that "true" line.

TRAMMEL'D
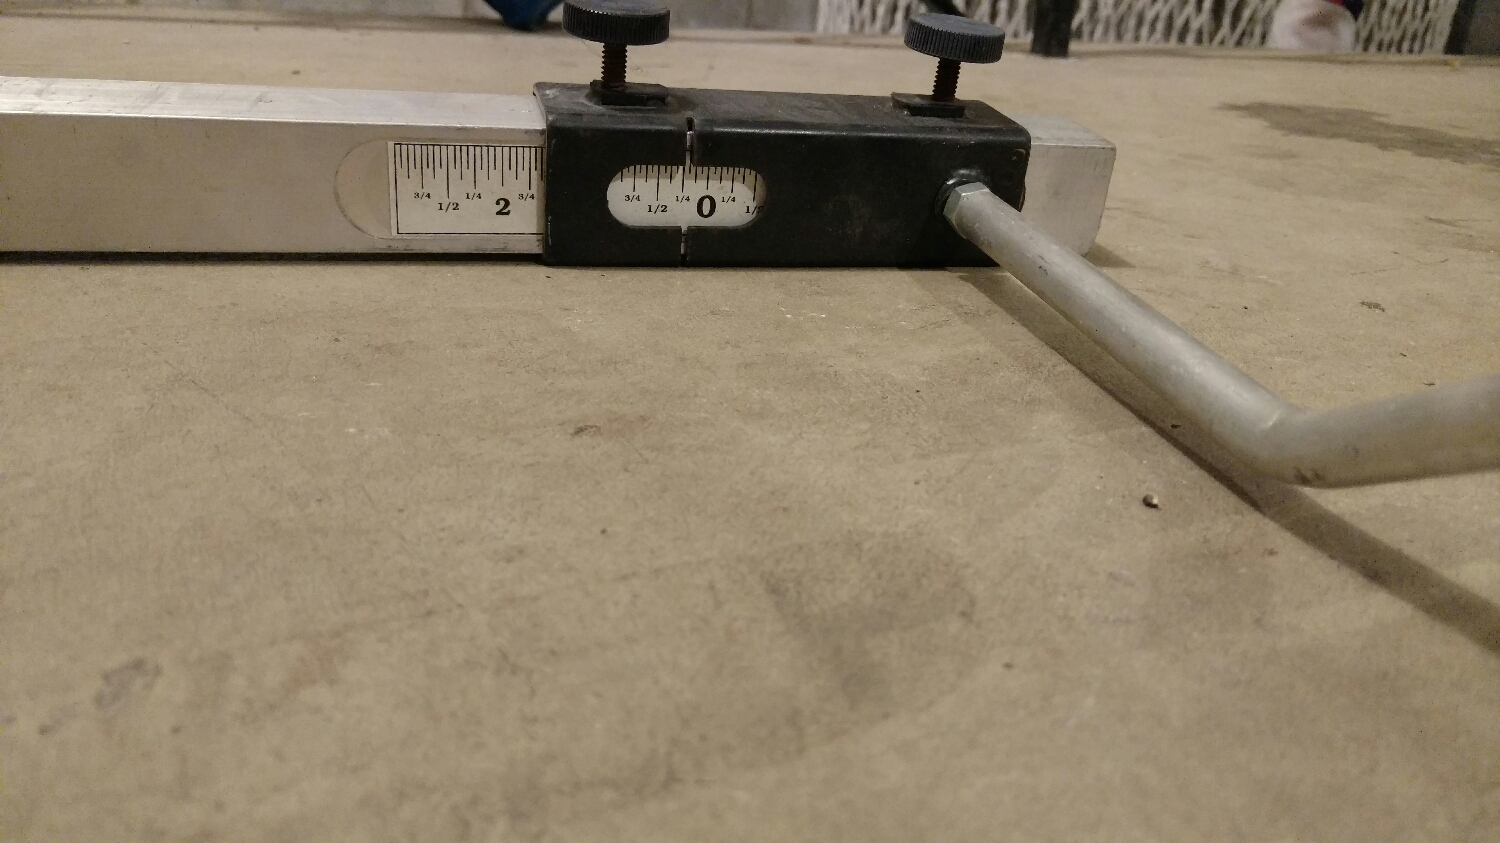
adjust the lil pointer arms to meet your scribed line, and set toe quickly with these cool tools

That thing connecting the steering rack to the spindle is the tie rod. Adjust that to adjust Toe.

Always try to have the car on a level surface when checking camber . if that isn't possible, figure out the degree of slope, and note it, and use simple math to figure your actual numbers.
So, we jumped into setting Toe right away...but before setting the Toe, you should probably set the camber/caster. Camber is the "angle" of the wheel, relative to the ground. Making changes to camber and caster settings usually changes the Toe settings on most cars, so while Toe is what I check the most often at the track, it isn't the first setup step on a new build. Some cars will have factory adjustable pieces for these things, some won't, but almost all popular track cars can be made to be adjustable for camber and caster through the aftermarket. My Hondas gain camber nicely as you lower the them, so front camber adjustment isnt terribly needed, but I also have some adjustable upper control arms. As you get deeper into the track scene, or wheel-to-wheel road racing, you'll start trying to optimize ever tires wear and maintain smooth, even heat across the carcass of the tire, and this is where camber and alignment come in to play. Having the knowledge and tools to do the work ON SITE at the track can make you faster, and maximize your tire useage. . Camber is a good thing, because as the car corners, you want the tire to have the widest contact patch, and evenly heat the tire. On my CRX racecar, I play with camber a lot, depending on the tire i'm running (its usually an old, cast off, free tire), and the track, etc. Its great to be friends with a photographer too, and ask/pay for pictures of your car cornering hard, to see a quality image of how the tire is deforming, and how the contact patch looks.
Caster is another interesting (and subjective) subject. Caster is the "imaginary line" between the upper and lower ball joints, or, the pivot point on a mcpherson strut car strut-top and the bottom of the spindle. When the caster ''line'' leans toward the rear of the car, that is "positive" caster, which inheirently makes the car feel more stable, and resistant to turning. When the "imaginary line" leans forwards, towards the front of the car, that is "negative" caster, when can make the car feel more twitchy and darty on turn in, and steady state turning.
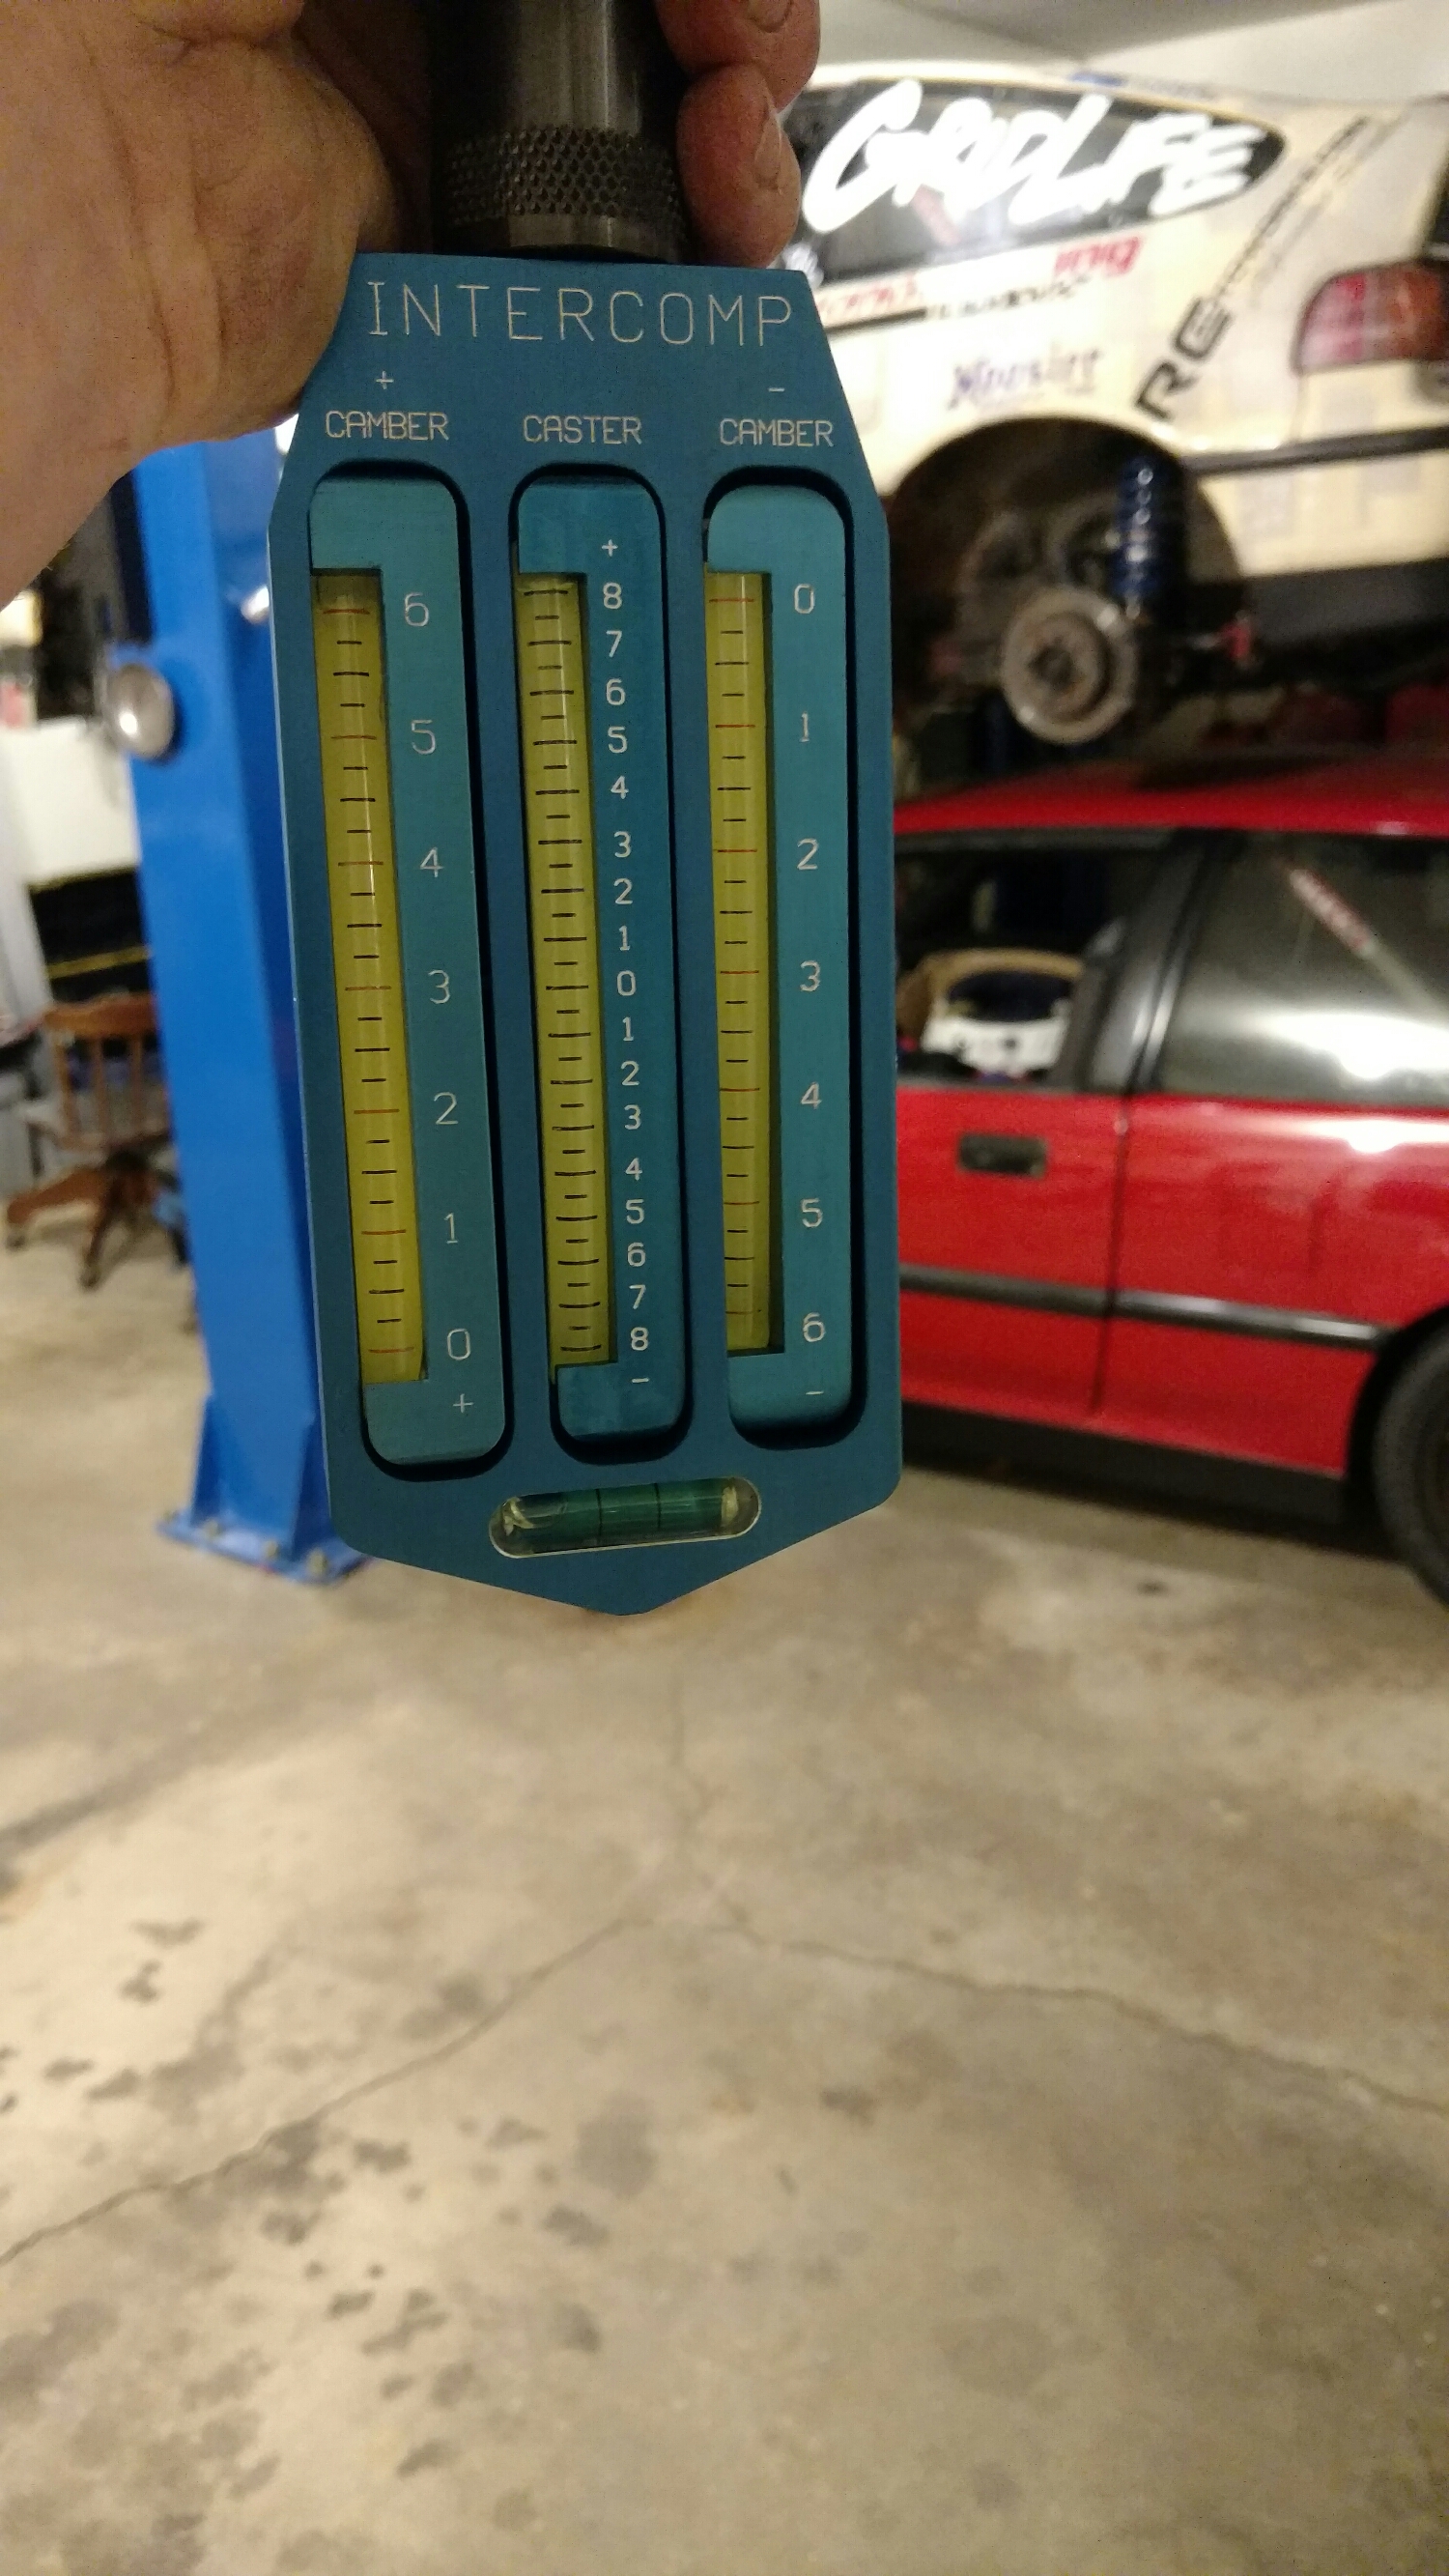
Nice useful little tool! Lots of ways to affix it to the wheel, depending on the accuracy desired. I typically hold it tight to the hub of the wheel, using the sweet alternator pulley I bolted to it. High tech!
Caster adjustment is done different on many types of cars. On my Hondas, it is done with adjustment of the "radius rods" up front, which are basically long trailing arms that fix the suspension upright and pivot with the suspension as it goes up and down. Many Mcpherson strut cars have adjustable upper perches available through the aftermarket, and double wish bone cars sometimes have rotatable ball joints or other means of adjusting caster. Caster can change the way a car "feels" quite a lot, making it track more stable, turn in differently (feel wise primarily), etc. Every car is different.
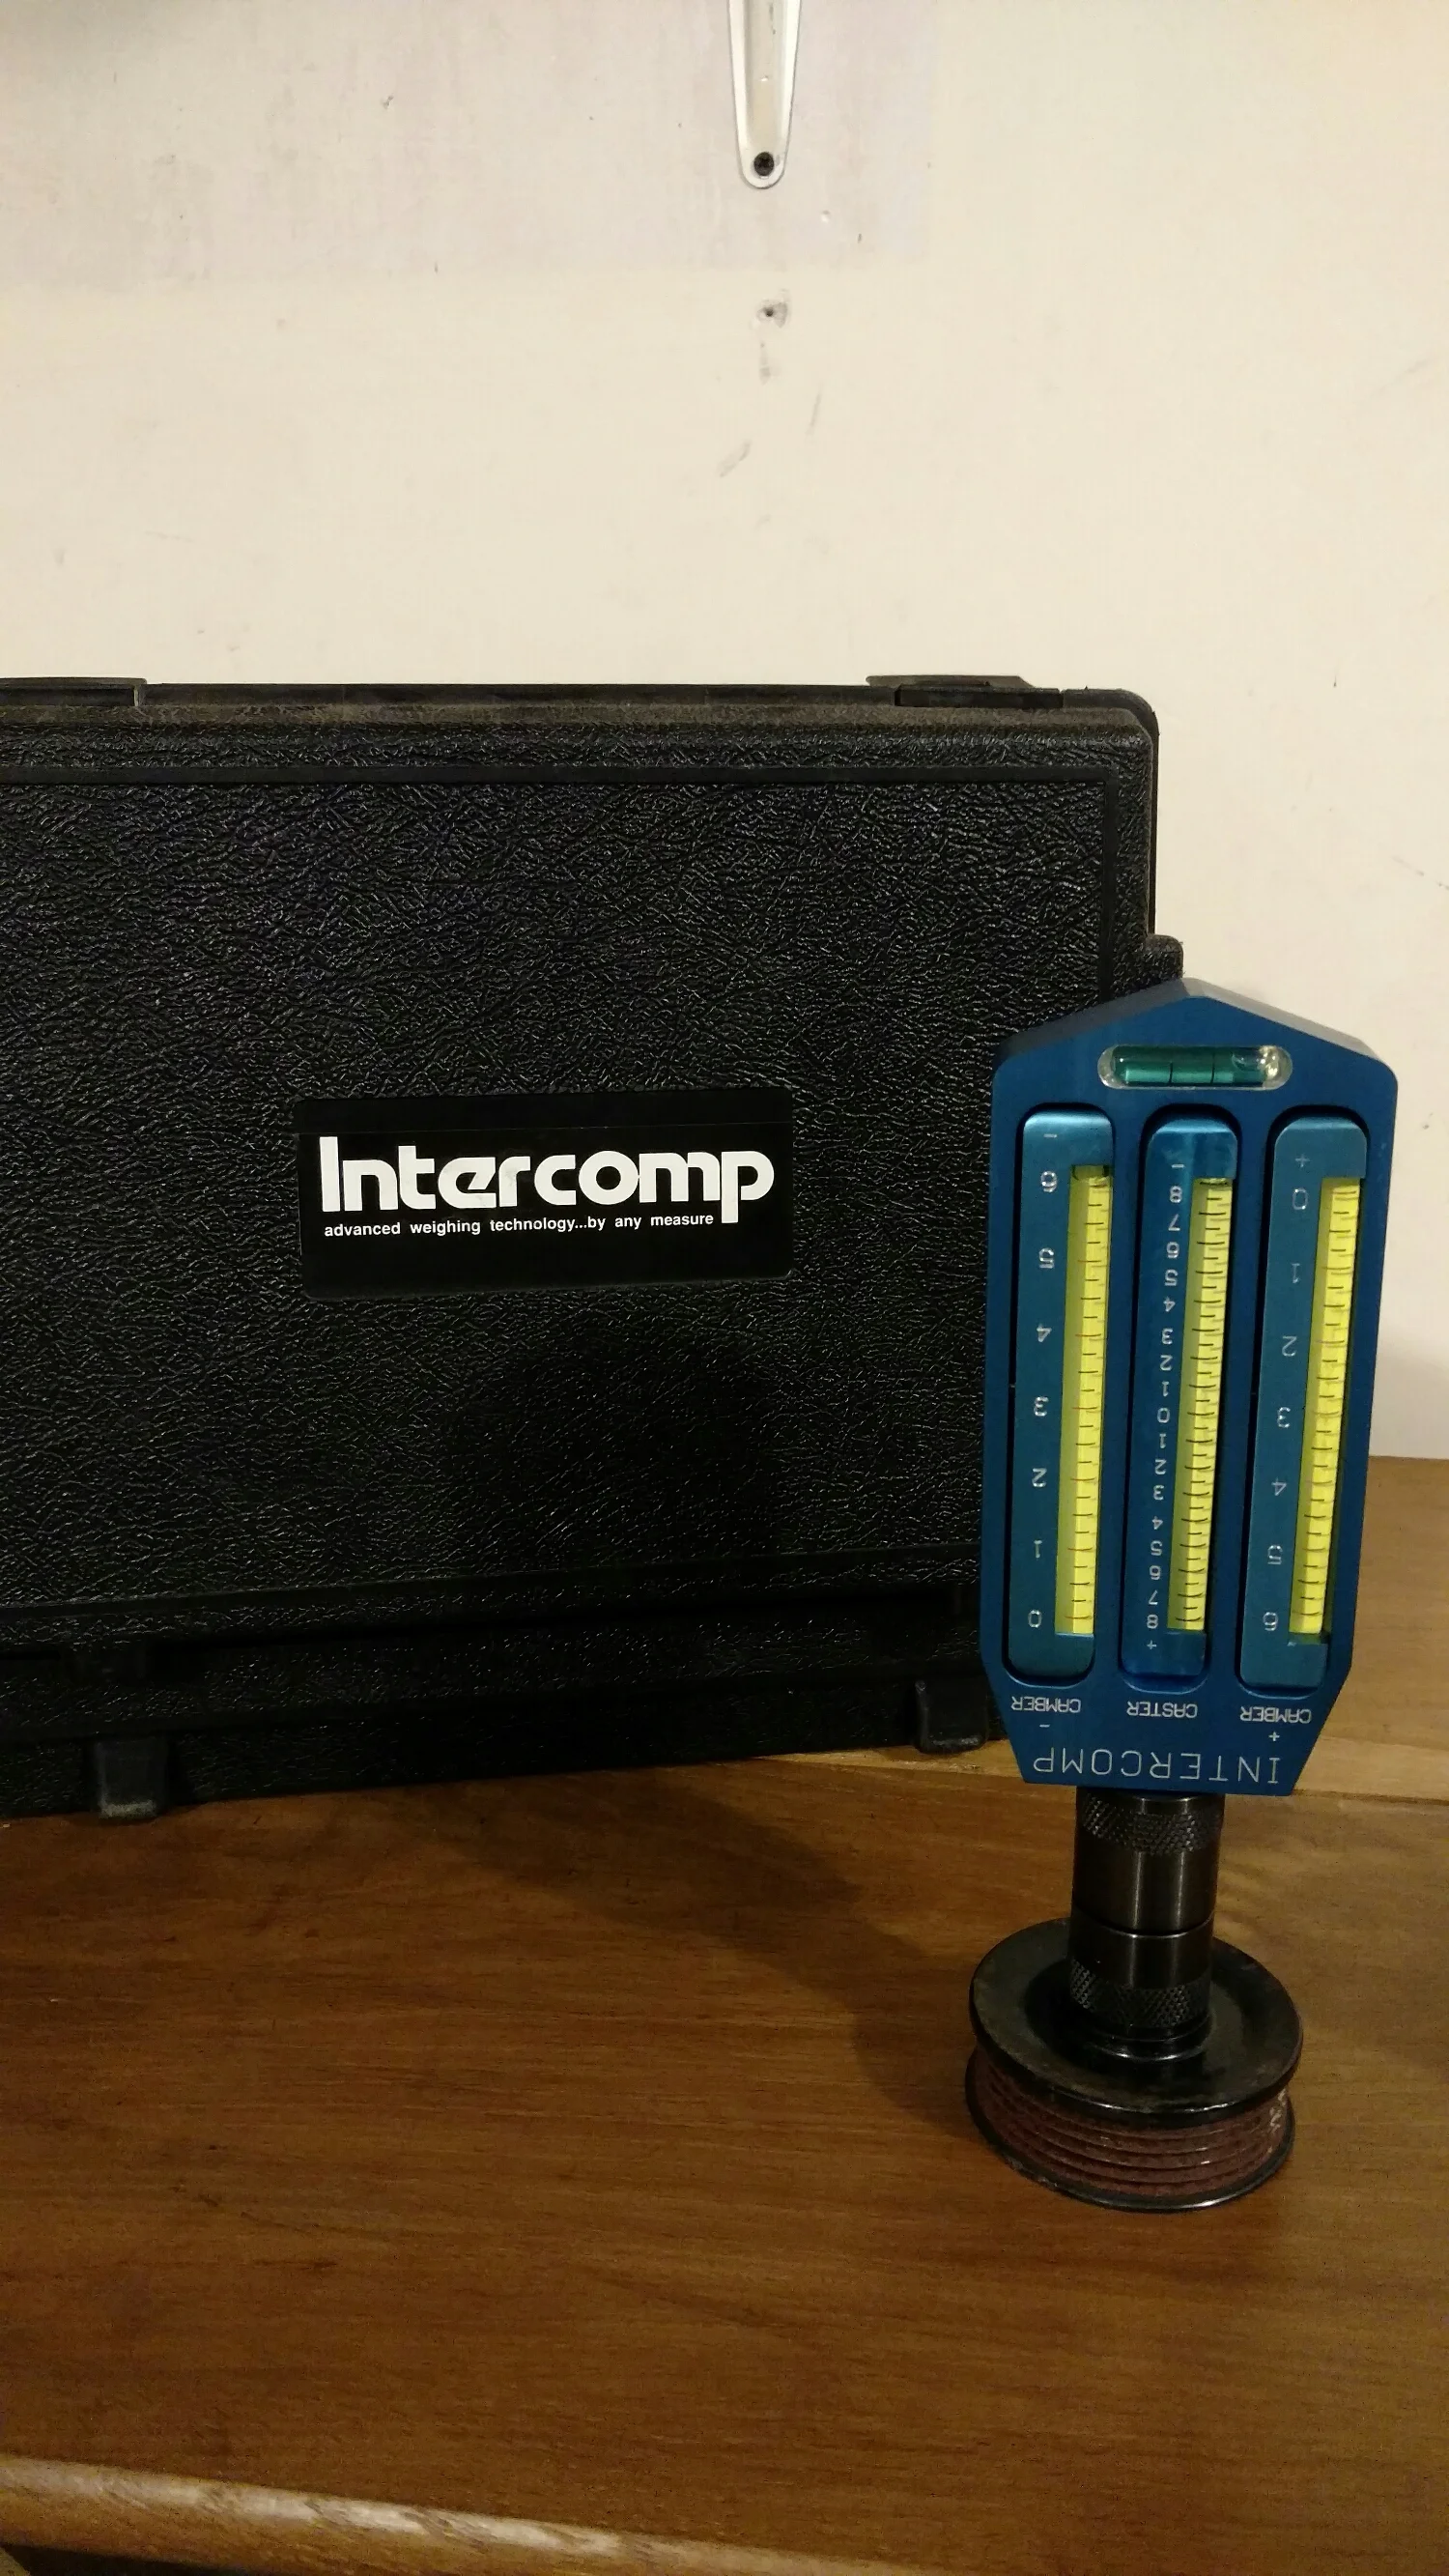
Caster measurement is pretty simple with the Intercomp tool I use. My neighbor actually gave me this tool, as his former boss had gotten it with the purchase of a used racecar, gave it to my neighbor as he didnt know what it was, and my neighbor did the same to me. It finally found a home, where it'd be used! Several companies sell nearly identical tools to one I have, and other options exist as well.

nice 2 degrees of camber....pretty standard for a civic that has been lowered , and I don't need much more on a street car. the racecar gets an extra degree or so, depending on the tires and the track.

Pretty basic instructions.

Mediocre pic of me holding it crooked while doing a bad job taking a pic. Nice

The knob on back pivots the "caster" bubble, so you "zero" the bubble at one end of the steering input, and rotate wheel, then it will tell you the rough "caster angle"
I love how sturdy and the well built this dumb tool is.

Turn wheel to opposite direction, and there is the caster angle.
Basically, turn the wheel away from the center of the car a set amount (some people say 20 degrees, some say just count the steering turns, etc), zero out and level the gauge, turn the wheel the same amount the opposite direction (wheel pointed toward center of car) and level the guage, and there is your caster. Some people use a couple cheap linoleum tiles stacked on top of each other under the tire to minimize friction/bind of the tire to to pavement, some use old plastic serving trays, some use wax paper, and pros use "turn plates"...
If the actual mechanics of all this is too far over your mechanical ability, you might have chosen the wrong hobby....if you can spin a few wrenches, and use simple tools, you can do this , once you understand the process
I emailed a few friends, Chris Childs of Angry Sheep motorsports, and Aaron Leichty of The Winning Formula, who work in the car-building and setup business, every day, for their input on this topic. Both shops are known top prep shops in SCCA and NASA racing.
-From Chris
"I could write a book about set ups and alignments. I could better relay this information over the phone, but I'll give it a go.
Static vs dynamic; as you know, all your alignments are static. What the car needs is learned dynamically on track .
When I am doing a set up I prefer to do it in race trim. Meaning with driver weight, fuel load etc.
I like using smart strings. They are the most accurate, although a little pricey. If you are on a budget, you can set up 4 jack stands. Pull a string tight between a pair of stands on each side of the car. Try to get strings as close to center line of each wheel as possible. Square the strings to each other, and to the center of each hub/wheel. Use a steel engineering scale or rule to be accurate. Measure front string to the rim lip front and rear of each wheel. Larger number on the leading edge is toe in, larger number on trailing edge in toe out.
There are many other methods, such as toe plates and trammel bars. The strings are the best way to reduce the chance of too much thrust angle. Top much thrust and you dog track.
Camber and castor require a way to measure the angle of the wheel related to the plane the car is sitting on.
You wanted simple :-)
There is lots to know, how deep do you want me to go?
A few things to keep in mind. Production cars understeer by design. Most of your work will be to get more towards neutral. That usually requires more negative camber in the front. More negative camber will want more toe out. .................
Where to start depends on a few factors;
RWD vs FWD. Strut vs SLA. What is permitted by the rules, and lastly tires.
Example is a strut generally doesnt gain camber in roll. So strut style suspensions require more negative camber. Generally struts like lots of castor. Castor adds camber as the wheels are turned.
For toe I start with about an 1/8" out front and an 1/8" in rear on a RWD.
Swap 1/8" in for out on the rear of a FWD. Then we run them and start tuning."
Chris Childs
Angry Sheep Motorsports
409 jack enders Blvd
Berryville VA 22611, 810-417-7777
-From Aaron
"Hey Adam!
Sometimes it is hard to answer open ended questions in an email; almost requires a discussion to get down to the real answers to some of these seemingly simple, but really quite complex concepts. Anyways, here are some of the first thoughts that come to mind.
1) The string box has to be true - I cannot emphasize this enough. The entire alignment is all for naught if our measurements are skewed by a poorly setup string box. I know you know this, but it has to be emphasized! Measuring from the perimeter of a 17" wheel, 0.20 degrees of toe is about 1/32". 0.20 degrees of total toe in the rear of most cars is the difference between a setup inclined toward oversteer versus one biased toward understeer.
2) To setup for an alignment we first carefully inspect the suspension for any worn components and typically perform a quick hardware check - just throwing a quick wrench on all critical suspension fasteners. We then ballast the car with driver weight, set tire pressures to our anticipated hot pressures on track, and prefer fuel load to be in the middle of the range the car will see during race conditions. We do not ballast the car for perceived downforce effects, but rather jounce the car and use our $50,000 laser alignment system to record dynamic changes to our alignment values. Any substantial changes in the dynamic range should be accounted for in the static alignment settings. The DIYer could do the same thing by taking static measurements, then adding weight to the front of the car and slightly jacking up the rear to simulate the suspension under braking - record measurements. Next, add weight to the rear and slightly lift the front to simulate a rear-aero biased, or high horsepower vehicle's suspension position on a straightaway. Record and compare measurements. Maybe use photos of the car on track to get an idea of the amount of compression and extension the suspension is undergoing? That should give the DIYer an idea of any geometry considerations he should be accounting for in his static alignment settings.
3) How alignment changes can affect the car's feel on track? Where do I begin!? Without going into a diatribe on the importance of alignment I'll just say that trial and error is name of the game. Don't be afraid to try something. One of my favorite sayings, "Try something even if it's wrong." Even if a setup change turns out to be a step back in terms of lap time, it can still show a strength in some areas of the track and give the user some ideas on how to work that gain into future setups. I used to work for a guy and we would each setup each others cars without the other knowing what we had done. We would then take them to the track, drive the cars and only at dinner on Saturday evening would we finally reveal what we had done to the other's setup. Man, that was fun! I'd do crazy stuff ("try something even if it's wrong") like put -0.75 front camber in his Spec Miata. He'd say at dinner, "That car was a little tight through the middle of the corner, but boy was it ever stable under braking and turn-in. Ran some pretty quick laps!" What did I learn from trying something that was "wrong?" I learned that LESS camber has it's benefits."
Aaron Leichty, The Winning Formula, Louisville, Ky, 502-499-7459.
So, that's how the pro's approach some of this. ...with some generalities. They both mentioned "strings" as a good way to do Toe setup. Smart Strings, and "string boxes" are a cool tool to do a full setup with , especially from a fresh build, to eliminate an "dog tracking", and to get the front and rear wheels tracking true to each other, squaring up the whole car. You can build your own String setup with jackstands, some tubing, and strings. The basic premise of them is simple. Picture the overhead view of your car, and draw a rectangle around it. The sides of the rectangle need to be perfectly parrallel to the hubs and to themselves as well, and then you can get the wheels nice and square.

Image via Smart Strings

Image courtesy Pegasus
The main thing to take away from this article would be that you can DO THIS with the right tools and a bit of ambition. It takes some practice to get familiar with which way to spin the tie rods, how to move the adjusters, and how much tie rod adjustment it takes to get a desired amount of Toe change. The best part of knowing how to do this stuff is that, especially for HPDE/casual racers, you can really fine tune the car at the track. If the car doesnt feel right, there is a reason for it. Are the tires not getting heat into them? Did slamming the curb at Turn 1 six laps in a row throw off the Toe adjustment or camber adjustment? etc. etc. etc. etc.....this stuff has is another deep wormhole to go down, and part of the fun of this hobby is really getting the hang of a car, and how adjustments affect the real world handling and performance of the car. Test days really become valuable when you can actually learn these things! Look for a future article on building a "string" setup, and a detailed write up on corner balancing as well.